Thursday, September 24, 2015

Hoard of the Dragon Queen: Aftermath - Episode II

Talis is brought aboard the castle and, in the company of Lucien, meets with guardian spirit of the castle, Escalarta. The cult leader and Escalarta reach an agreement that they believe to be mutually beneficial. In exchange for her help, Escalarta insists that Talis kill all but her most trusted guards.

And so, Talis tasks the party with eliminating the four cultists and three trolls that had accompanied her onto the castle. Now, I'd like to say our heroes made quick work of these foes, but such is not the case. It took our brilliant adventurers quite some time to use the fire on the trolls required to keep them down.

But, the battle behind them, they escort Talis off the castle so she can return to the hunting lodge. They then set off in the castle for Scornubal where they would resurrect their fallen allies. That night each member takes their watch. Kaelthiros experiments with his golems during his shift. The buggers are apparently rather daft!

Morning comes and Kaelthiros makes known that his coin purse is missing. Odd. That aside, the group continues to explore the untouched regions of the castle. In Rezmir's room Oloril finds some notes with the passwords to the teleportation circles. Additionally, they discover a chest that contains a dark draconic helmet. Mysteriously, this disappears the very instant Kaelthiros reaches in the chest. Another oddity. Murry uses the gem of trueseeing to locate the helmet, but it is nowhere to be found. Of course, Kaelthiros insists that Murry look at him through the gem. And yes, Murry sees the young copper dragon that is Kaelthiros' true form.

After some jestful conversation between the ranger and sorcerer*, the members of the party occupy themselves as they see fit. Finally,as the castle continues to travel, the group decides to explore the one remaining place in the castle they have not yet accessed - the cracked tower. Murry turns Oloril into a gaseous form and the dwarf slips inside . . .


__________

*Kaelthiros is thoroughly convinced that Murry is part genie, and is expecting his three wishes!

Thursday, September 17, 2015

Horde of the Dragon Queen: Aftermath

After dealing with the remaining threats in the castle, Escalarta sends the group of adventurers to take out the cultists at Parnast. Unfortunately, cultists are not the only opposition they face there. The cultists send waves of villagers to eliminate our heroes.

For better or for worse many in the party willingly kill the villigers along with the cultists. After the cultists are destroyed, Kaelthiros has a crisis of conscience. Though he did not intentionally injure any of the villagers, he felt responsible.

In an effort to make amends, he found a surviving young village boy named Elros. Surely, here was a chance to nurture a life. He picked up the boy and began walking into the castle. He would raise the boy as a son . . . or not. For as soon as he broke the plane of the castle's entrance, lightning struck the boy in his arms and killed him. Escalarta, the castle's guardian, would not suffer the boy to live!

Heartbroken and despondent, the ranger fell to his knees and wept. Surely, Bahamut knew he only meant the best. Such good intentions - such tragedy. He headed inside the castle and engaged Lucien for guidance and comfort. However, he would not be permitted much time for reflection or rest. Escalarta was now taking them to the hunting lodge to eliminate Talis and the other cult member who made residence there . . .

Wednesday, August 19, 2015

Hoard of the Dragon Queen - Episode #21 – Walk By Faith, Not By Sight

While Oloril recovered from his wounds, Dain and Kaelthiros engaged in a heart-to-heart conversation about the elf returning to the party. The fighter could see the sincerity of his comrade and, noting his recent good deeds, welcomed him back with arms open. Soon thereafter, Oloril awakened.

The three immediately then began their search for Lucien, who was nowhere to be found. It was several hours before they located him, but see him they did. The reverse was not the case, however, for Lucien, though alive, was now blind! The paladin had been blinded by Lathander for his deceitfulness in playing along with the ruse to enter the cult's castle. He explained to his friends that he had been tasked with returning Bardu and his fallen allies to a temple of Lathander. Upon completion of this, his sight would be restored to him. In the meantime though, he must walk by faith - not sight. Well, maybe hobble by faith. He has only one leg after all.

But Lathander was not the only one communicating with Lucien. The spirit of Blathgokis's wife had also been conversing with the paladin. What she wished, he told the party, was for them to wipe out the cultists at Parnast to exact revenge for the death of her husband.

The party agreed that they would do this, and then assist Lucien in getting their dead to the temple. So, with permission from the spirit-wife of the cloud giant, the group sifted through the treasure in the treasure room to see what useful things they might find to aid them in their quest.

It was in this room that they encountered a peculiar creature named Murry. The castle's curious infiltrator introduced himself as an Air Genasi Sorcerer who sought revenge upon the cultists. And so, after brief discussion, Murry aligned himself with our heroes to set out on their new quest . . .

Thursday, August 6, 2015

Hoard of the Dragon Queen - Episode #20 – This Is How It Ends - Not With A Bang, But A Whimper

And there he stood . . . all alone. Dain had just dealt the death blow to Rezmir. Such a feat would surely seem a victory -  were it not for the carnage around him.  Scattered across the floor lie the bodies of his fallen comrades: Nulara, Kaelthiros, Oloril, and Mullyn. Lucien, however, was not in sight. The castle was no longer plunging downward towards the earth. Perhaps, from another location, it was the paladin who had managed to stop its descent? He would have to look later. Urgently, he darted to each of his senseless allies. The vital signs of Oloril and Kaelthiros were stable; however, the bodies of Nulara and Mullyn had no life in them. Their spirits had already departed.

Silently, the dwarf stood. Surely, preventing the summoning of Tiamat and killing Rezmir was a great success. Still, the loss that lie before him stole the gladness from his heart. After situating Oloril and Kaelthiros, the warrior steeled his resolve.

"Lucien," he cried out, "help me tend to their wounds."  With any luck the paladin was still living, and could assist Dain. That is, he could assist not only with tending to the living - but with making preparations . . . for the dead.

Wednesday, August 5, 2015

Hoard of the Dragon Queen #19 - Battle Aboard a Flying (Falling) Castle


After following the ogres to Blathgokus, the party discovers that the giant is aware that they've "stolen" from the treasure hoard and demands the return of all of the items they took. The party returns the items they took. The giant then invites them to dinner and engages them in conversation. The party begins to twist the giant's thoughts - isn't the cult manipulating and using you? The giant resolves to discuss the matter with Rezmir, asking the party to remain behind.

Following the daunting battle with an adult red dragon and the wave after wave of kobolds, ogres, and cultitsts, the party takes a much needed rest... but why did the cult allow them to take a rest? Could it be that the cult's forces are decimated?

No, kobolds scouts continually keep tabs on the party. But on Oloril's watch, something much bigger than kobolds comes to the party. Two ogres with plumed helmets, summon the party to meet the cloud giant, Blathgokus, who controls Skyreach Castle.


After hours of waiting, Blathgokus still hasn't returned. Then suddenly  The party and the giant's honor guard venturing out to find the giant. Opening up the tower doors, the party discovers that the courtyard at night is covered in pea-soup fog as a massive storm swirls around the castle. Venturing forward, the voice of Rezmir taunts them over the howl of the wind.

The ogres charge forward to attack in fury but the party hangs back, staying in tight formation. Oddly, the ogres return one at a time, and attack the party as if in a trance. The party holds their ground until two vampire spawn and a vampire attack, grappling Nulara, Lucien, and Kaelthiros and dragging them into the mist screaming.

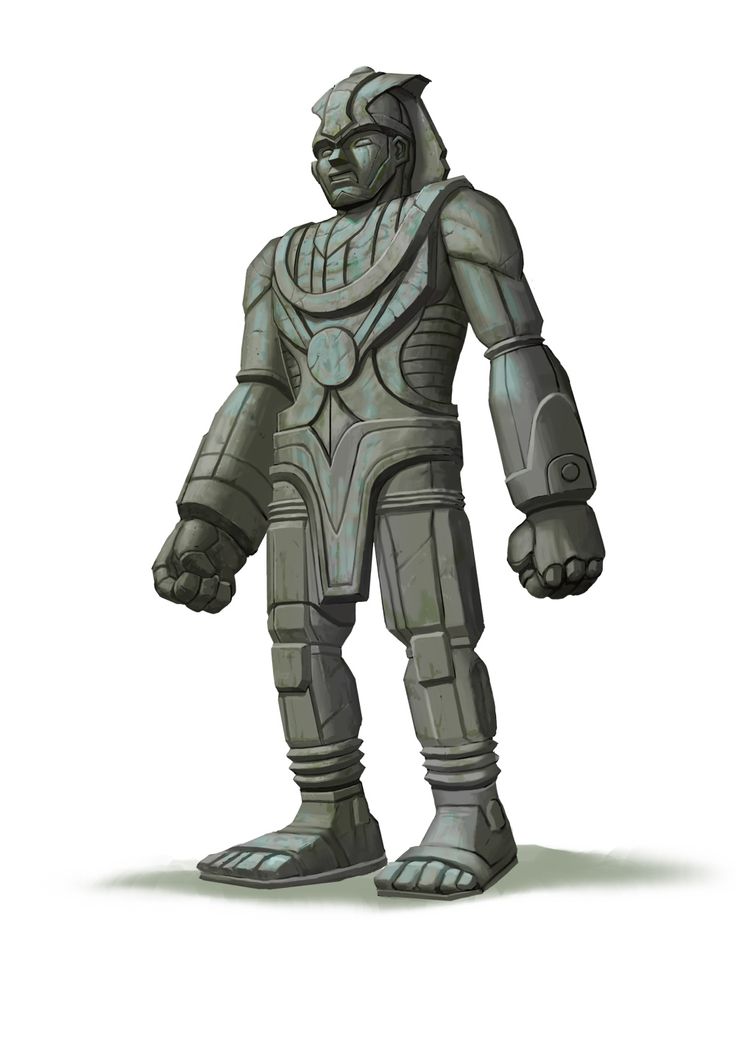
Before Oloril, Mullyn, and Dain can rush to the aid of their friends Rezmir and two stone golems attack. Mullyn is quickly downed and Oloril soon follows. All looks lost for the party until lightning streaks down and strikes all on the battlefield. Is Have the gods answered Lucien's prayers?

Well... perhaps. But not as Lucien had hoped. Lucien has found his way to the control tower after driving off the vampire and has convinced the spirit of the castle to fight on their side! Using the temporary advantage, Dain delivers a death blow to Rezmir and the stone golems cease their attack.

Saturday, July 25, 2015

Cumulative Creatures Encountered List

Here's a total list of all of the villains, bad guys, monsters, and creatures the party has encountered and/or fought since the beginning of level 1:

Acolytes
Adult Blue Dragon
Adult Red Dragon
Adult Black Dragon (didn't fight)
Ambush Drakes
Ash Zombie
Assassins
Berserkers
Bugbear
Bullywugs (including Pharblex Spattergoo)
Cloud Giant (didn't fight)
Crocodiles
Couatl
Cultists (Ranks: Cultist, Dragonclaw, Dragonwings, Dragonfang, and Wearers of Purple Wyrmspeakers)
             (Names: Rezmir, Frulam Mondath, Langdedrosa Cyanwrath, Dralmorrer Borngray, and encountered but did not fight Talis the White)
Doppelganger
Dragon Eggs (Red, White, and Black)
Drow
Ettercaps
Evil Mage
Flame Elemental (didn't fight)
Flameskull
Gargoyles
Giant Bat
Giant Boar
Giant Centipedes
Giant Frogs
Giant Lizards
Giant Spiders
Ghoul
Goblins
Gray Ooze
Grick
Guard Drakes
Guards
Half-Dragon (Blue and Black)
Helmed Horror
Hobgoblins
Hobgoblin Captains
Hobgoblin Warlord
Kobolds
Lizardfolk
Nothic
Ochre Jelly
Ogres
Orc
Otyugh
Owlbear
Perytons
Redbrand Ruffian
Red Wizards of Thay (Azbara Jos and Rath Modar)
Roper
Skeleton
Spectator
Specters
Stirges 
Stone Golem
Swarms of Bats
Swarms of Rats
Swarms of Centipedes
Trolls
Vampire
Vampire Spawn
Veterans
Violet Fungi
Will-O-Wisps (didn't fight)
Winged Kobolds
Wolf
Wraith
Young Green Dragon
Yuan-ti Malisons
Yuan-ti Purebloods
Zombie

That's a very long list! Can you guess what creature on this list is most feared by my party? It isn't a dragon, vampire, golem or giant... it's the fearsome stirges! Those little bloodsuckers can send my level 8 characters running for the hills!

Creatures Encountered List #2

The heroic adventurers have completed their second quest. Let's take a look back on a comprehensive list of all of the enemies, beasts and foes the heroes fought in their second daunting quest:

Acolytes
Adult Blue Dragon
Adult Red Dragon
Adult Black Dragon (didn't fight)
Ambush Drakes
Assassins
Berserkers
Bullywugs (including Pharblex Spattergoo)
Cloud Giant (didn't fight)
Crocodiles
Couatl
Cultists (Ranks: Cultists, Dragonclaws, Dragonwings, Dragonfang, and Wearer of Purple Wyrmspeakers) (Named Cultists: Rezmir, Frulam Mondath, Langdedrosa Cyanwrath, Dralmorrer Borngray, and encountered but did not fight Talis the White)
Dragon Eggs (Red, White, and Black)
Ettercaps
Flame Elemental (didn't fight)
Gargoyles
Giant Bat
Giant Boar
Giant Centipedes
Giant Frogs
Giant Lizards
Giant Spiders
Goblins
Gray Ooze
Guard Drakes
Guards
Half-Dragon (Blue and Black)
Helmed Horror
Hobgoblins
Hobgoblin Captains
Hobgoblin Warlord
Kobolds
Lizardfolk
Ogres
Otyugh
Perytons
Red Wizards of Thay (Azbara Jos and Rath Modar)
Roper
Specters
Stirges 
Stone Golem
Swarms of Bats
Swarms of Rats
Swarms of Centipedes
Trolls
Vampire
Vampire Spawn
Veterans
Violet Fungi
Will-O-Wisps (didn't fight)
Winged Kobolds
Young Green Dragon
Yuan-ti Malisons
Yuan-ti Purebloods


That's quite a list! Next I'll post a combined list of all the creatures the party has fought since the beginning of the campaign!